
Learn about the graph, notification types and how to adjust the interval.
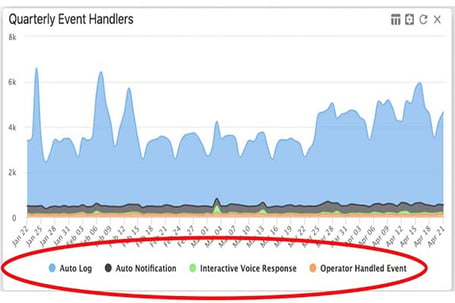
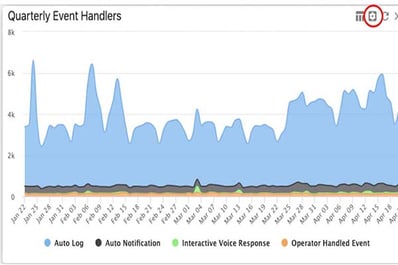
The event handlers widget logs how all events were handled within a specific time frame. Each event is logged under four different entries:
- Auto Log - Often a test signal to ensure the systems are working properly.
- Auto Notification - A text or email is sent to the contact for a non emergency signal.
- Interactive Voice Response - When an automated voice call is made to contact for a non emergency signal.
- Operator Handled Event - Any event that requires an operator’s response.
The entries are color coded to easily differentiate between one another on the graph.
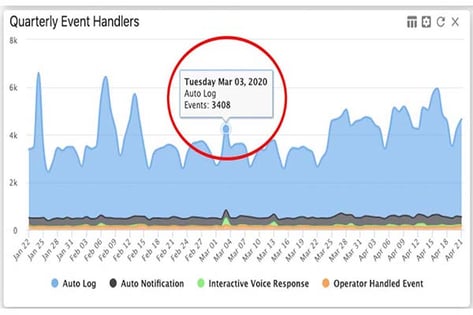
When you hover the cursor over a specific point in the graph, a snapshot will appear of the date, the type of event, and how many events were logged on that date.
How To Change The Interval
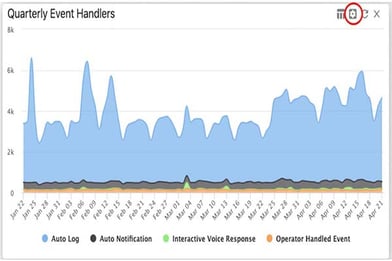
To change the interval in which the data is collected, click on the gear icon in the right hand corner of the widget.
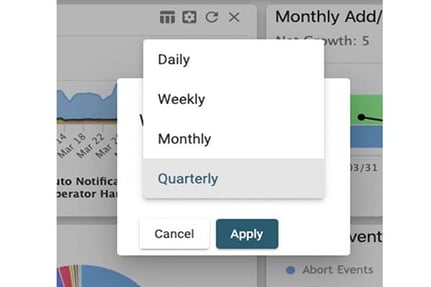
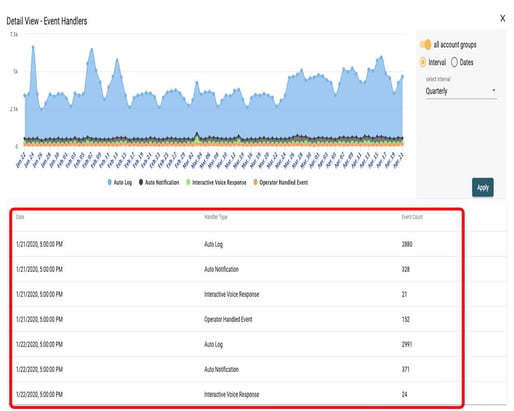
A dialogue box will appear. You will have the option to change the interval to daily, weekly, monthly, quarterly. Click the interval you want, then click apply.
Explaining The Detailed View
To get to the detailed view, click the icon just left of the gears icon in the right hand corner of the widget.
This will take you to the detailed view. In the detailed view, you have a log below the graph that details the specific date, handler type, and the total number of events for that handler type.
Viewing Data Within Specific Date Ranges
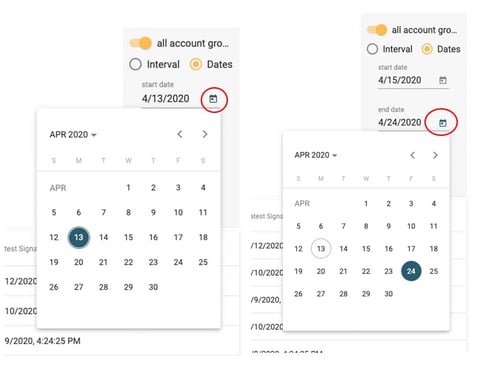
In the detailed view, you can select a specific date range for data to be displayed, and not just intervals. To select a specific date range, go to the top right corner of the detailed window and select Dates.
Select a start date by clicking on the calendar icon. Select the month by clicking the down arrow by the month, or by clicking on the left and right arrows in the right corner. Then select the date.
Then select an end date by clicking on the calendar icon by the end date. When you’ve selected your date range. Click apply to generate a report within that date range.
Click the X in the top right hand corner to exit the details window.